Use this guide to create a Microsoft 365 admin user that will have the ability to bulk-add mailboxes and limit which mailboxes timetoreply can get data from using a mail-enabled security group.
Step 1: On Microsoft 365, create a user (or use an existing user) that will be used as the authenticate mailboxes with timetoreply.
-
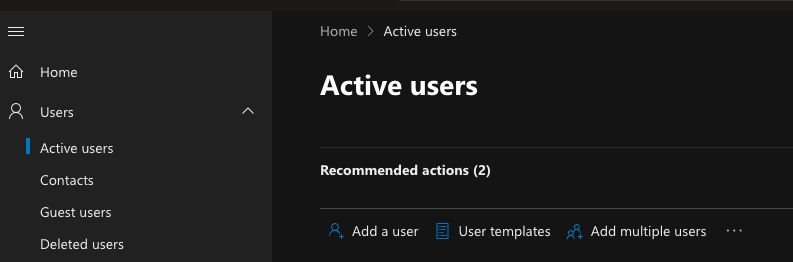
Log into your Microsoft 365 admin portal, click on Users > Active User and add a new user.
Log into your Microsoft 365 admin portal, click on Users > Active User and add a new user.
-
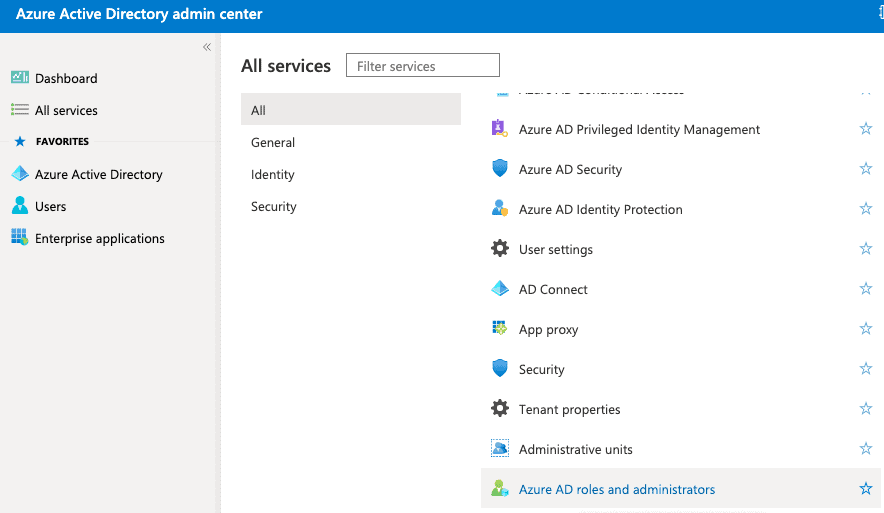
Once the user has been created, log into your Azure Active Directory, click on All Services and then choose Azure AD roles and administrators.
Once the user has been created, log into your Azure Active Directory, click on All Services and then choose Azure AD roles and administrators.
-
Search for the “Privileged role administrator” role and assign it to the user that you want to use to authenticate.
Search for the “Privileged role administrator” role and assign it to the user that you want to use to authenticate.
Step 2: Limit which mailboxes the timetoreply application is allowed to ingest data from.
Please view our security document to see the permissions we request for the different methods of adding mailboxes to our system.
-
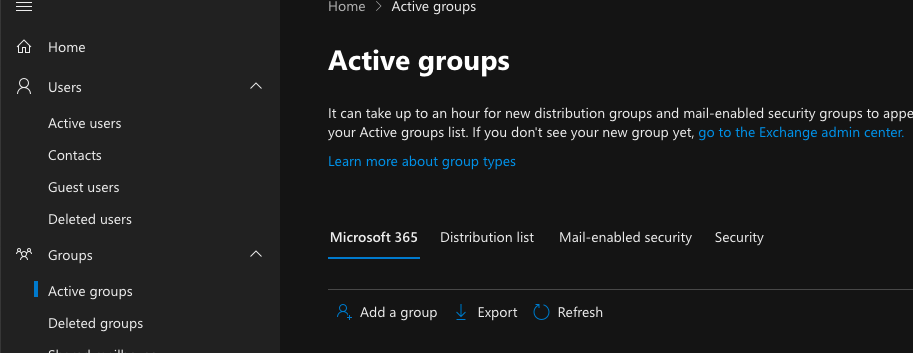
Log into your Microsoft 365 admin portal and click on “Groups” > “Active”
-
Choose “Mail-enabled security” from the options and create a new Mail-enabled security group.
Log into your Microsoft 365 admin portal and click on “Groups” > “Active”
Choose “Mail-enabled security” from the options and create a new Mail-enabled security group.
-
Once created, click on the Mail-enabled security group that you have just created and click on “Members”.
-
Choose the members that should be in the security group, these are the mailboxes that you want to allow timetoreply to get data from.
Once created, click on the Mail-enabled security group that you have just created and click on “Members”.
Choose the members that should be in the security group, these are the mailboxes that you want to allow timetoreply to get data from.
Step 3: Create an ApplicationAccessPolicy to restrict timetoreply to only be able to access data from the mailboxes in your Mail-enabled security group. More info here: https://docs.microsoft.com/en-us/graph/auth-limit-mailbox-access
In powershell, run the following command, replacing the arguments for AppId, PolicyScopeGroupId, and Description where AppID needs to be: ca7f3ddb-4052-4e29-a3e1-9bef37e1bf4f and the PolicyScopeGroupId will be the name of the mail-enabled security group you created above (this will be in the form of an email address)
New-ApplicationAccessPolicy -AppId ca7f3ddb-4052-4e29-a3e1-9bef37e1bf4f -PolicyScopeGroupId [email protected] -AccessRight RestrictAccess
Once created you can test the policy and whether it is restricting the members correctly by running the following command, replacing the arguments for Identity and AppId:
Test-ApplicationAccessPolicy -Identity [email protected] -AppId ca7f3ddb-4052-4e29-a3e1-9bef37e1bf4f
Need help or have feedback? Get in touch with us at support@timetoreply.com — we’re happy to help!