Maropost setup guide
Learn how to setup Maropost with timetoreply
Getting started – Quick overview video followed by step-by-step set up instructions
Log into https://portal.timetoreply.com/auth/login and navigate to tools > integrations.
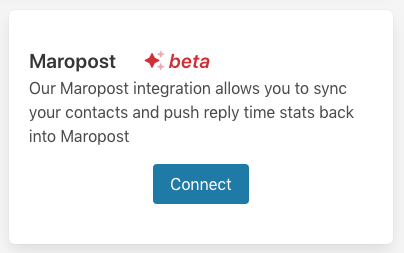
Click on “Connect” and you will be taken to the following screen:
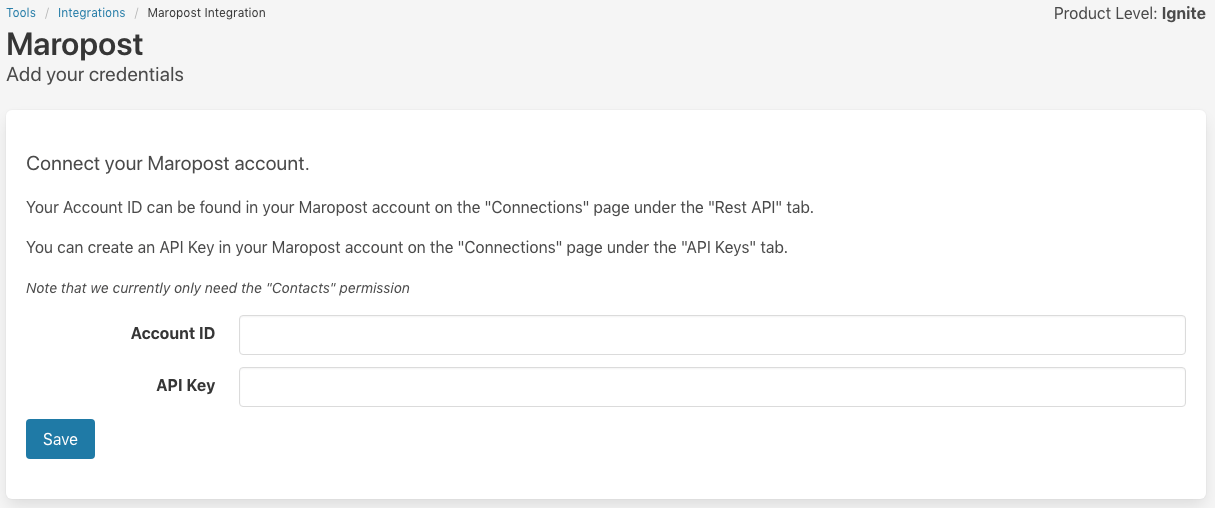
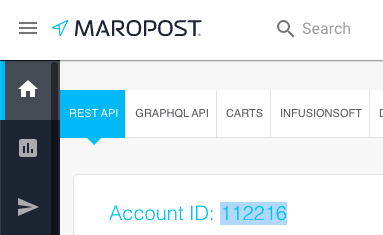
You can find your Maropost Account ID in your Maropost account on the “Connections” page under the “Rest API” tab.

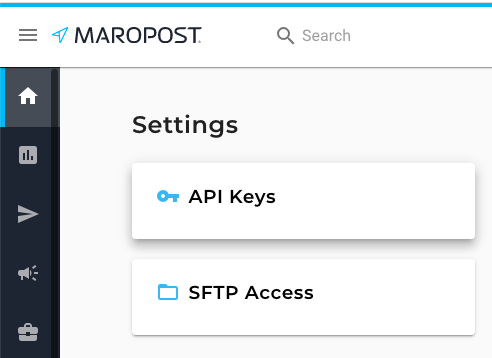
You can create an API Key in your Maropost account on the “Settings” page under the “API Keys” section.
To get to settings, click on your account name in the top right-hand corner and then choose “Settings”.

From the settings page, choose “API Keys”
Finally, click on “Add Key” to create a new API key.

Enter those details into timetoreply on this screen and click and “Save”.
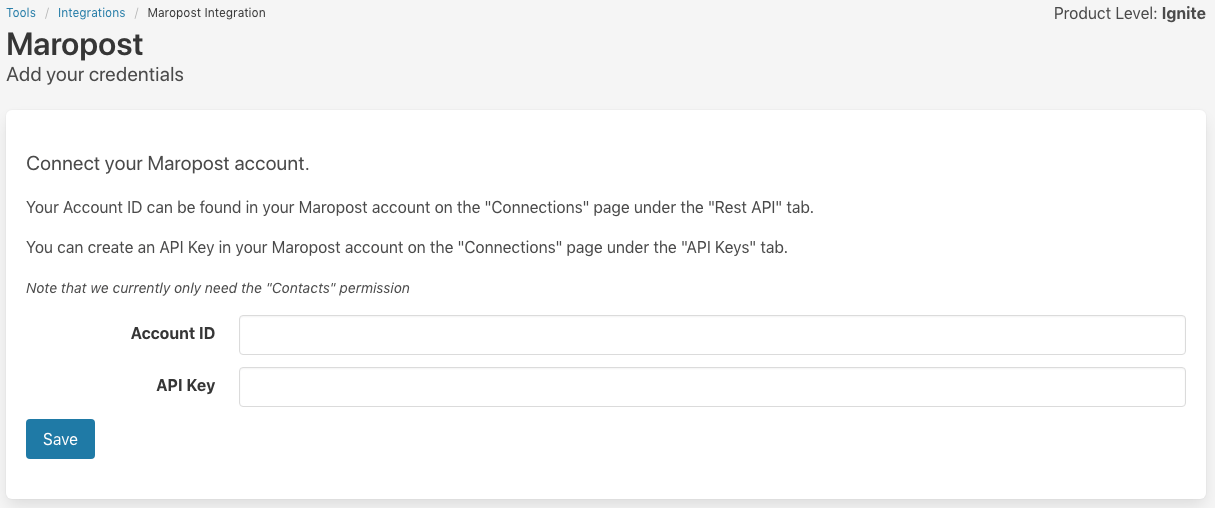
And that’s it! You have successfully linked your Maropost account with timetoreply.
Now that you’ve linked Maropost with timetoreply, here’s what you’ll be able to do.
In timetoreply:
-
You’ll have the option of creating new contacts or contact groups within timetoreply automatically using your Maropost contacts. To do this go to TOOLS > CONTACT GROUPS (was Customer Groups) and then click “Add from Maropost”, search for a list within Maropost and choose whether you want to sync the email addresses or just the domains. Note that when contacts are added or removed from that Maropost list, they will be updated in timetoreply accordingly.
-
You can use these contact groups to create specific reports (for example a report on how well your sales team is responding to leads from your outbound email campaigns from Maropost) and real-time email alerts for that set of customers (for example send an alert if there has been no reply from my customer service team to Top “100 Customers” contact group after 2 hours). Once you have created a contact group in timetoreply you can use it as a filter on any of the reports under “when communicating with”. You will also be able to choose the contact group when creating real-time email alerts.
You’ll have the option of creating new contacts or contact groups within timetoreply automatically using your Maropost contacts. To do this go to your name on the top right > CONTACT GROUPS (was Customer Groups) and then click “Add from Maropost”, search for a list within Maropost and choose whether you want to sync the email addresses or just the domains. Note that when contacts are added or removed from that Maropost list, they will be updated in timetoreply accordingly.
You can use these contact groups to create specific reports (for example a report on how well your sales team is responding to leads from your outbound email campaigns from Maropost) and real-time email alerts for that set of customers (for example send an alert if there has been no reply from my customer service team to Top “100 Customers” contact group after 2 hours). Once you have created a contact group in timetoreply you can use it as a filter on any of the reports under “when communicating with”. You will also be able to choose the contact group when creating real-time email alerts.
In Maropost:
-
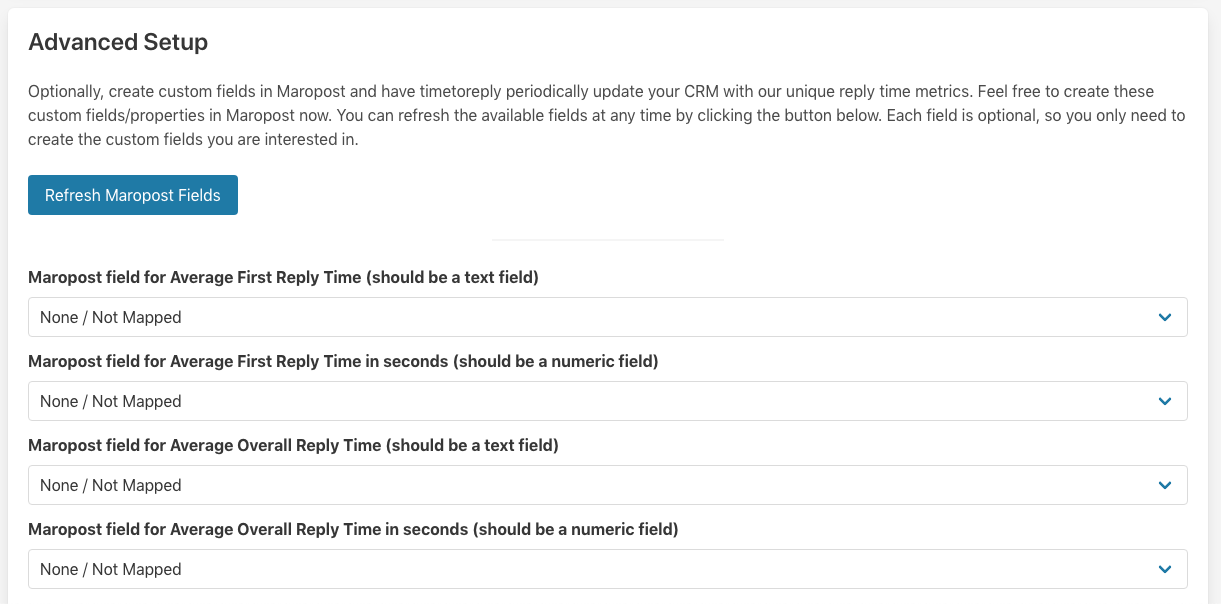
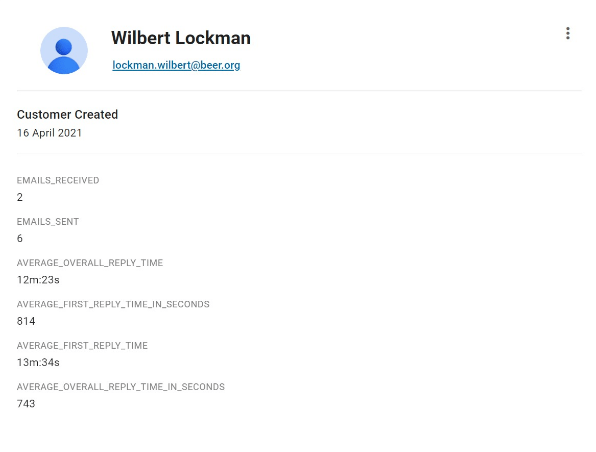
You can sync data from timetoreply to Maropost so that you can view email analytics and reply time data against each of your Maropost contacts in Maropost.
You can sync data from timetoreply to Maropost so that you can view email analytics and reply time data against each of your Maropost contacts in Maropost.
To set this up you need to go to the advance Maropost setup in timetoreply: https://portal.timetoreply.com/tools/crms/maropost/credentials and choose which fields in Maropost to map the data to. You can create custom fields within Maropost for this data.
Need help or have feedback? Get in touch with us at support@timetoreply.com — we’re happy to help!
